UPAA Blog 2020-21 #15 - 2/8/21 (text and photos by Scott R. Galvin)
Scott R. Galvin is an Ohio-based freelance photographer and UPAA associate member. Prior to his freelance career, Scott was a staff photographer at the University of Michigan and the 2007 UPAA Photographer of the Year.
Many photographers can tell stories of missing key moments in a big game because they were in the workroom editing images of some other key moment. Is there a way to edit images quickly on the field/court or other location with the full control of Photo Mechanic and more? Yes! Has a version of Photo Mechanic for iOS (iPad/iPhone) finally been created? Sadly, the answer is no. The good news is that depending on your workflow, there is a very good alternative and useable app.
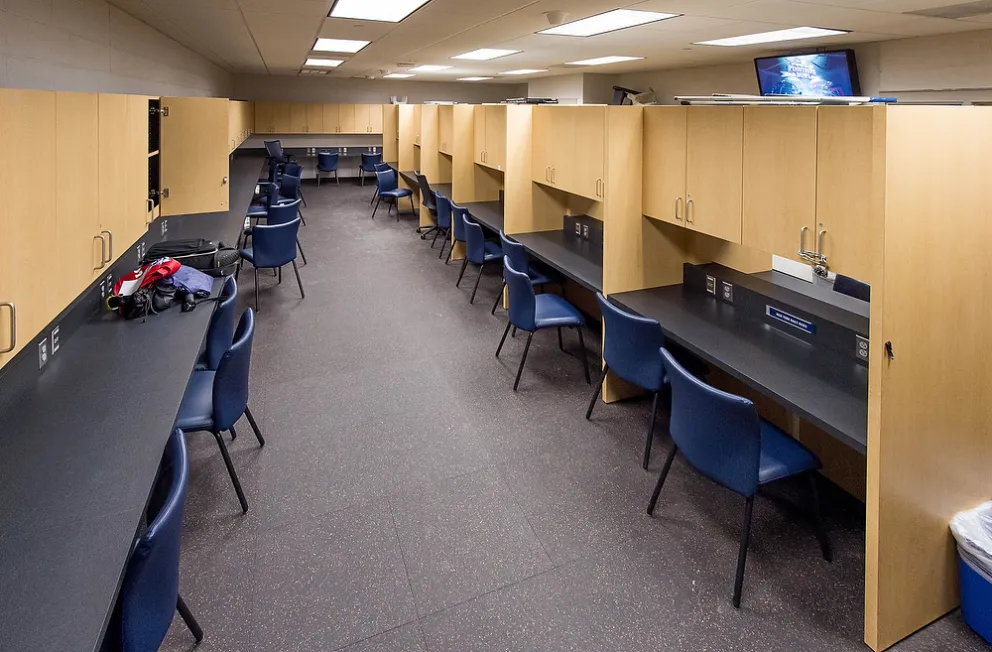
(photo by Matt Cashore) When is the last time you made a photo of a game-winning play from inside the photo workroom??
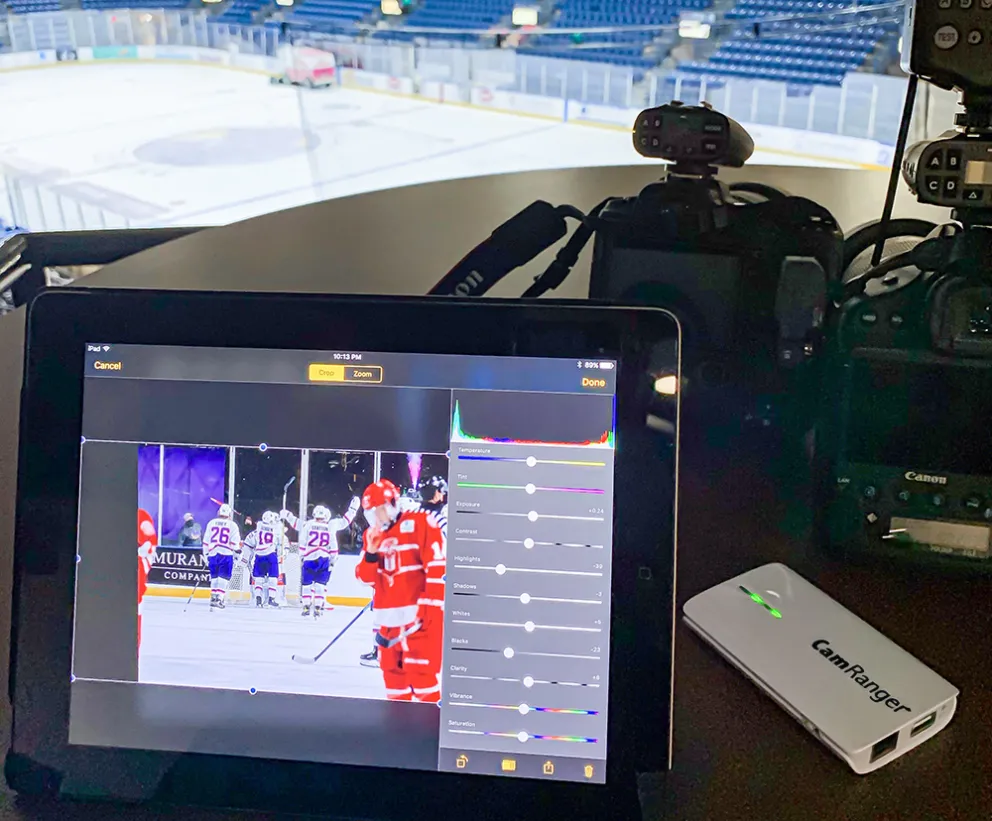
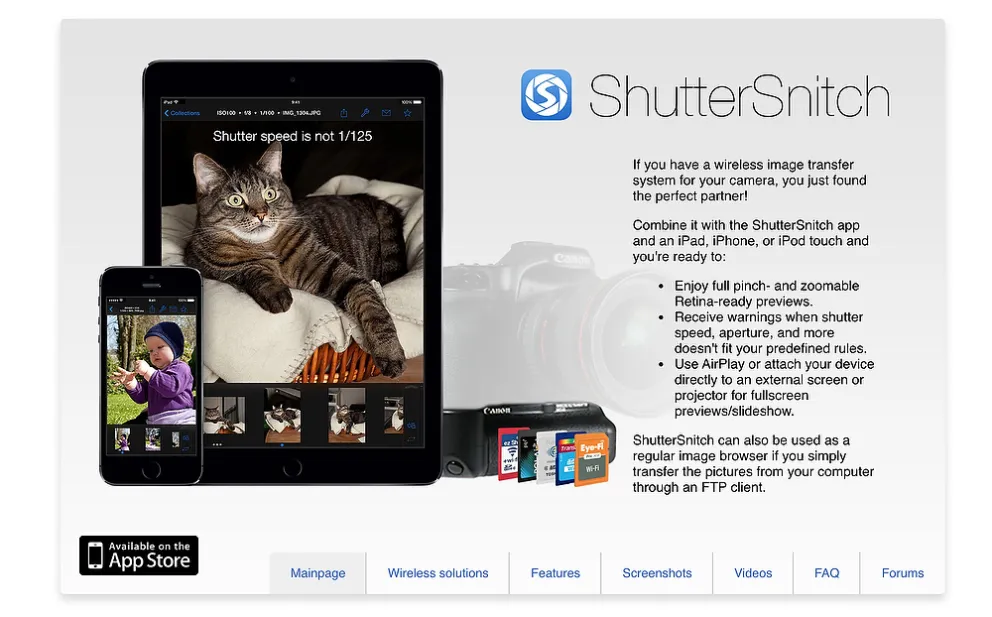
Let me re-introduce ShutterSnitch. This underrated photography app has been available for more than 10 years and has nearly all the powers of Photo Mechanic, though it also has some clunkiness and a steeper learning curve for the more advanced features. ShutterSnitch on an iPad greatly speeds up my in-game workflow. I use it mostly for hockey at this point since football season is over and I spent the second half of the football season working out the bugs.
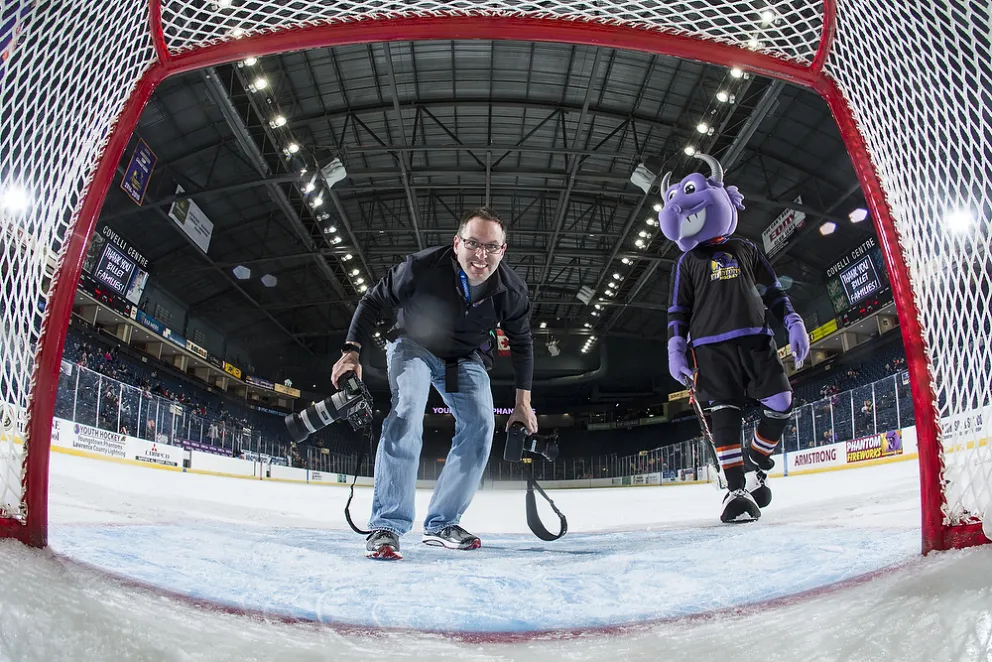
Inside the hockey goal--cool angle for a remote...probably not a good place for editing.
Generally I quickly send an image or two at a time to the iPad and edit during a timeout or break in action. On average at a hockey game I will have 5-8 images sent to the team by the end of each period, which means I get a lot of my post-game time back. Even with basketball since most venues prohibit photographers from editing with laptops on the baseline, keeping my iPad near me and editing during timeouts or other uneventful moments has become a great alternative. Its small size sits comfortably in my lap and isn’t a hazard or distraction the way a laptop would be. At NFL games I shoot with one other photographer for an agency and we are competing with multiple photographers from AP and Getty. In addition to multiple photographers at the game they also have runners for memory cards and either an on-site editor. If I can save 5-10 minutes of running back and forth to the media workroom I can close the image delivery gap with my competitors while remaining ready for the big moments.
ShutterSnitch Features
There are two versions of the app. The first version is free, but this limits the user to basic functions. The advanced features of ShutterSnitch are on the subscription version for $2.99/month. You can cancel anytime, but then you lose the features of the subscription, and at $2.99 per month it's a drop in the bucket.
First let's list some of the available features in the subscription version of ShutterSnitch:
-Code replacement
-FTP, uploading
-Metadata apply
-Renaming
-Ratings, stars, color-coding
-Image editing
-Actions
-Pocket Mode
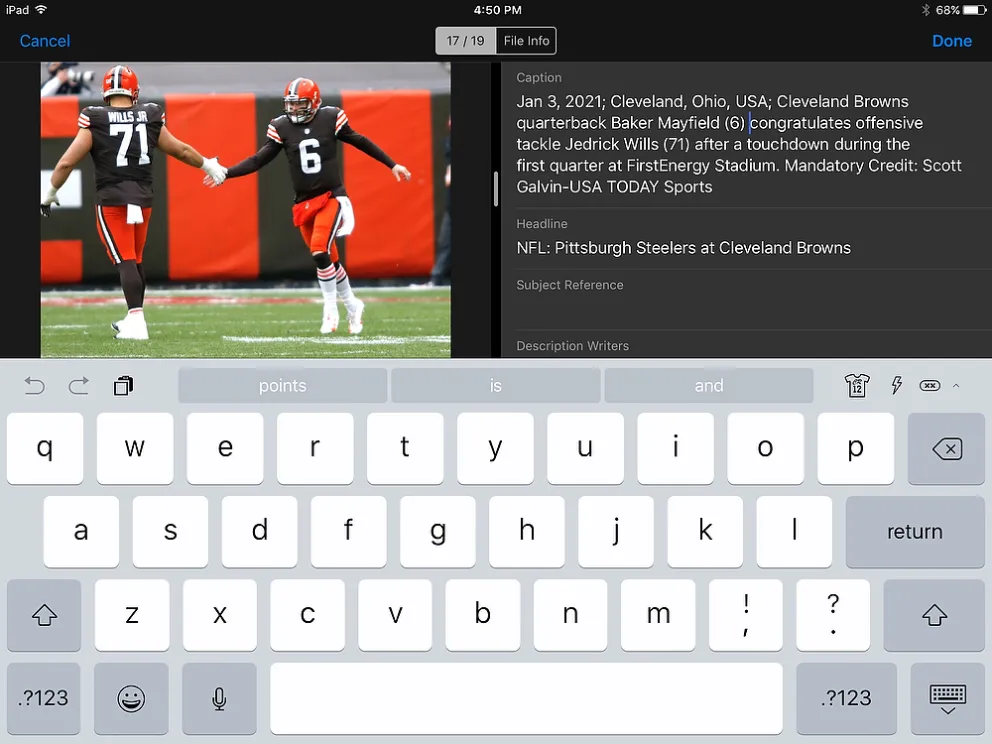
Code Replacement: By far one of the best features that everyone loves from Photo Mechanic is code replacement. ShutterSnitch has the same capability. You can use the same tab-delineated file made for Photo Mechanic for your ShutterSnitch code replacements. Load your code by putting it in the ShuterSnitch > Code Replace folder in iCloud. Once that’s done simply type your code then click the shirt icon.
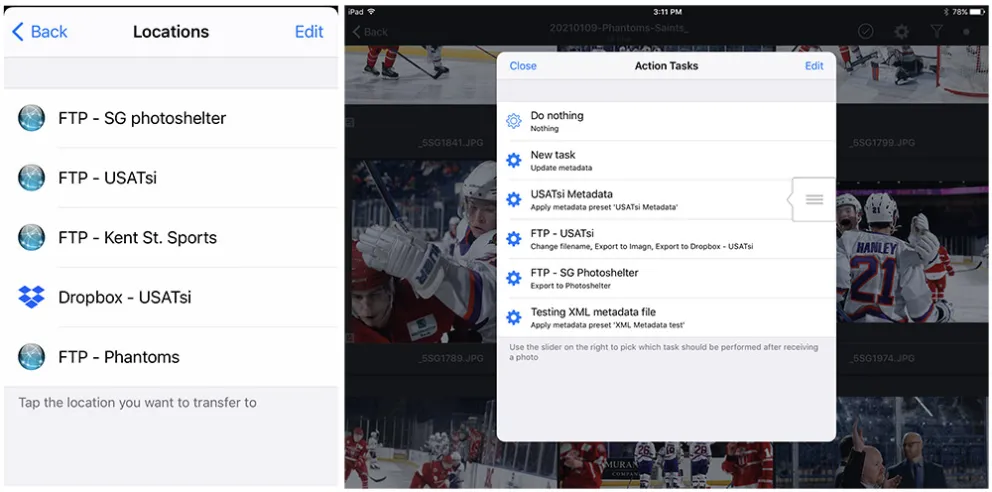
FTP: You can easily send files to clients via FTP, Dropbox, Flickr, Google Drive as well as a few others. Just set up an action, enter your information and you can save it for future transmitting.
With the click of one action you can also send to multiple locations. I have it set so whenever I send to a client via FTP it also puts a copy in a specific Dropbox folder so I always have a copy and can double check what has been sent to a client.
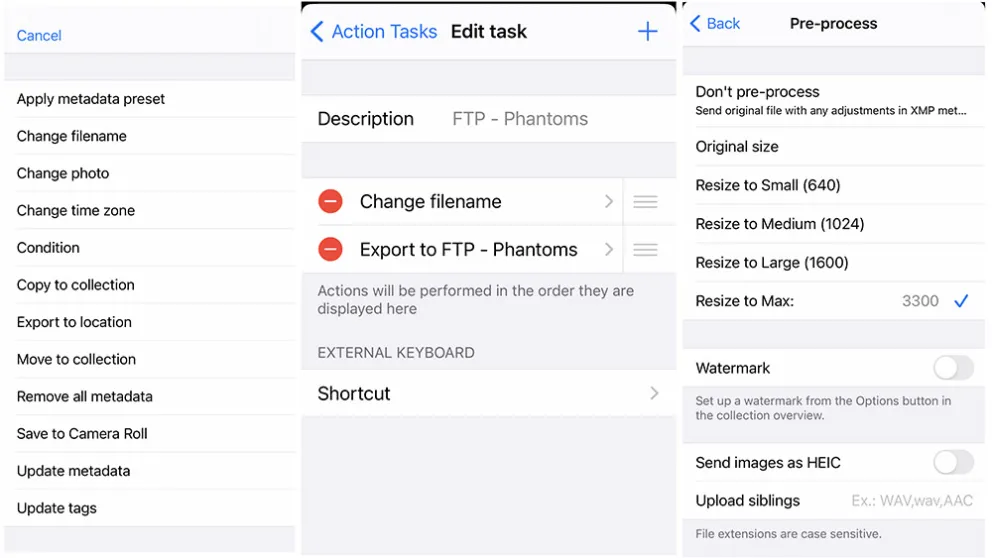
Metadata and actions: You can create any number of actions with various presets available. One such action that I frequently use is to apply a preset of metadata to the imported images. This then allows me to apply a few code replacement strings to complete a caption before sending it to a client. Actions can also be grouped into tasks to apply multiple actions in a specific order--all at the tap of an icon.
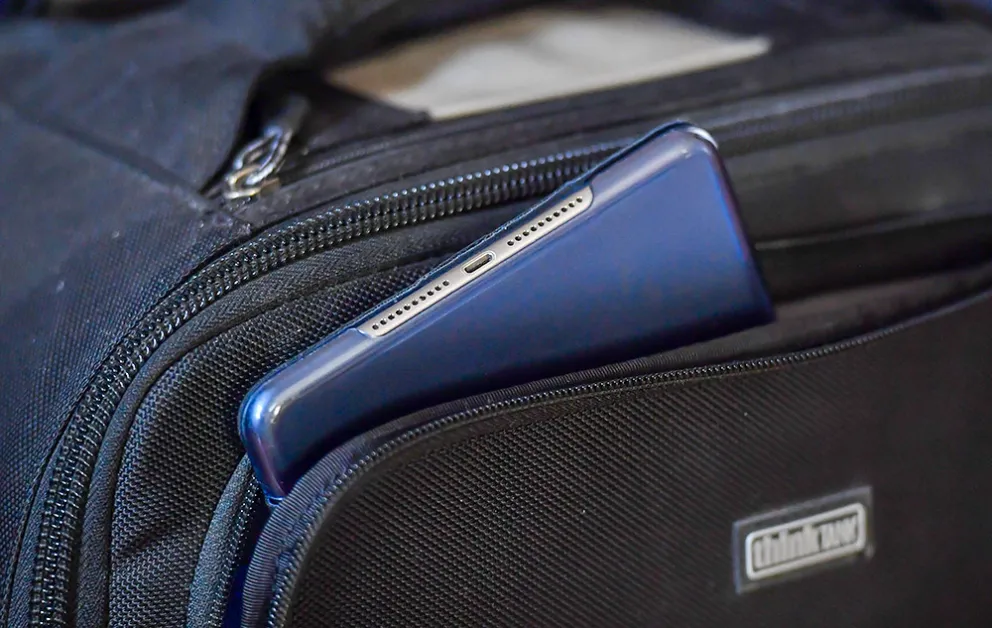
Pocket Mode: You can put a device (iPhone/iPad) in your pocket or bag nearby and the images you select will continue to transfer. This works on any iOS device but in my experience the best device is the iPad mini. Its size is great in that it gives a large enough working space and fits very well into large pockets, especially the larger pockets in cargo pants making it quickly accessible.
ShutterSnitch Workflow
ShutterSnitch can be a bit clunky and isn’t nearly as intuitive as Photo Mechanic. However, Camera Bits, the maker of Photo Mechanic has been quiet for years on whether they plan to release an iOS version of their industry leading software.
1. Use a wireless router
The advantage of this setup is that you can connect multiple cameras to the same iOS device without having to connect one camera at a time and disconnect before using the other. You can use devices like CamRanger or even the Tether Tools wireless transmitter. I use the original CamRanger which sadly was a $200 price tag on a commonly available $40 battery powered wireless router. That specific router from TP-link has since been discontinued but luckily replaced with another one that is quite similar. Basically the need for this wireless router is to serve as a bridge between your cameras and iOS device. The wireless router just sits in a nearby bag or pocket.
Once you have this, let’s get into the setup. The first thing I do is temporarily disconnect all of my WiFi networks to make all of my devices only look for what I want them to, instead of trying to connect to my WiFi networks that are actually connected to the internet.
Here you will connect your wireless device (iPad/iPhone) to the router. This will allow ShutterSnitch to have an IP address. Much more important than that is the fact it will be a static IP address. This means you won’t have to constantly update the connection settings when you change venues or WiFi networks.
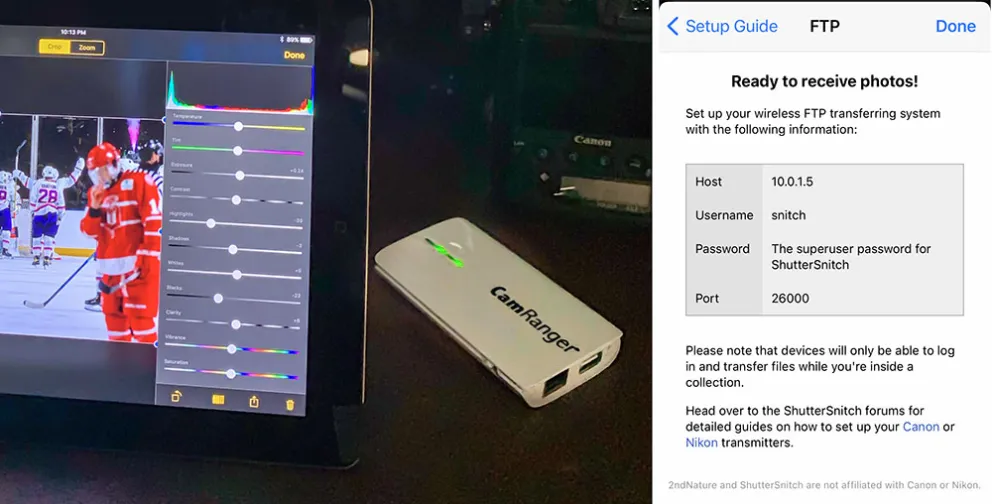
You will need your device IP address for sending images. Simply open the ShutterSnitch app, click Options tab in the main screen of the app, click Setup Guide, then what you will be using. I use the Canon WFT/Nikon WT option since I am just FTPing images to my device. This information will be needed and entered into your camera file sharing setup. **Note that for FTPing images to your iOS device you will use port 26000 as opposed to port 21 which is the common port to FTP for services like PhotoShelter.**
2. Move images from your camera to ShutterSnitch
Since most of our newer cameras have built in WiFi this is super easy and requires no additional hardware. You will be FTPing the images from the camera to your device. Just follow the directions from your camera manufacturer on how to set this up.
I prefer to only send a few selected images to the iOS device instead of wading through everything I shoot. So I will rate or select images to transfer individually.
3. Edit on ShutterSnitch
Begin by setting up your actions. The actions will do the heavy lifting for you at the press of a button. My first action is to apply metadata, as I would do in Photo Mechanic with the IPTC Stationary Pad. You can select which fields are visible and which ones are hidden, which is extremely useful. As mentioned above, ShutterSnitch supports code replacement, just like Photo Mechanic.
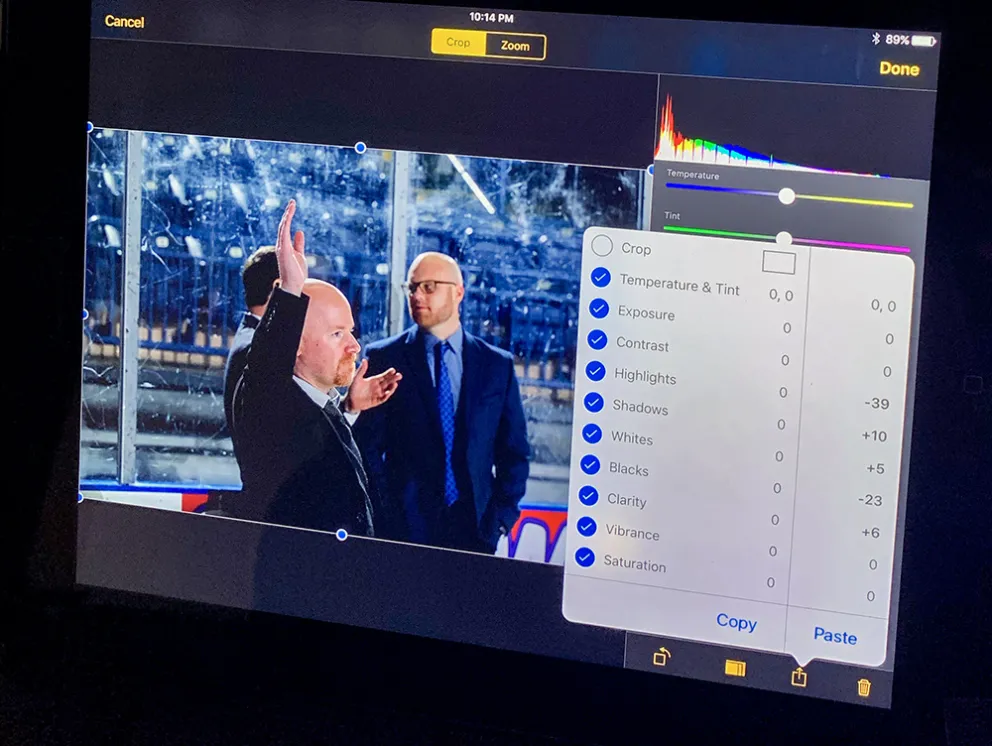
Actions can also speed up image adjustments. For instance if a venue has a certain white balance or exposure adjustment then create an action for that. You can create multiple sets if you have multiple locations where you tend to photograph and save those as individual actions. This will help to get your images mostly edited at the push of a button and only require a tweak or two to finalize the look of your image.
4. Export/FTP
To export change your iOS device to connect to the internet either through the facility WiFi or via mobile hotspot with your phone. Or if your device has cellular capabilities you can use that. Then click the gear button for your actions and Export to Location. The only major issue that I occasionally encounter in large venues like NFL or college football stadiums is inadequate cellular service which will limit the ability or reliability of transmitting via cellular network. Some stadiums do have private media WiFi which is a great remedy. However depending on the IT professionals they may limit your FTP capabilities over their WiFi network, which I encountered this past season in Cleveland.
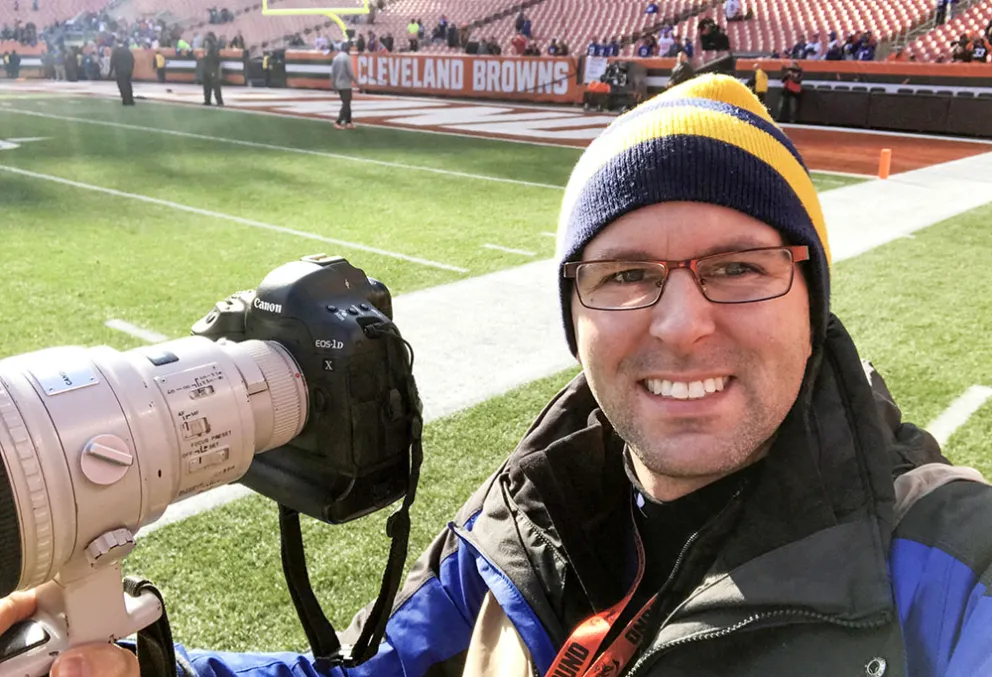
Hello Cleveland!
You can set up many Export options using the Actions icon. I set up one for each of my main clients. When exporting you can select an export size. The presets are Original Size, Small (640 px), Medium (1024 px), Large, (1600), or Max. It won’t enlarge images, but it will let you take a full-size image from something like a Canon R5 (8192 px) and reduce the pixel count. For example, most of my clients only need about 3000 px on the long side for social media. Just select Max and click to the side to input the Max dimension. If you like you can also add a text or graphical watermark upon exporting.
Once you’ve sent the images, reconnect your iOS device to your CamRanger and get back to shooting.
Bonus tips:
-When working in the cold, I suggest getting some good gloves with fingertips that allow the use of touchscreens. Otherwise you will be taking your gloves on and off to edit.
-ShutterSnitch has a great forum where users can ask questions and suggest features. The developer frequently monitors this and replies.
______________________________________
"Using iPads as cameras, for example, is like taking pictures with a cafeteria tray." -Brian Williams | Thanks for reading the blog, stories and suggestions always welcome. Send 'em to mcashore@nd.edu. And if you haven't already, follow UPAA on Instagram!