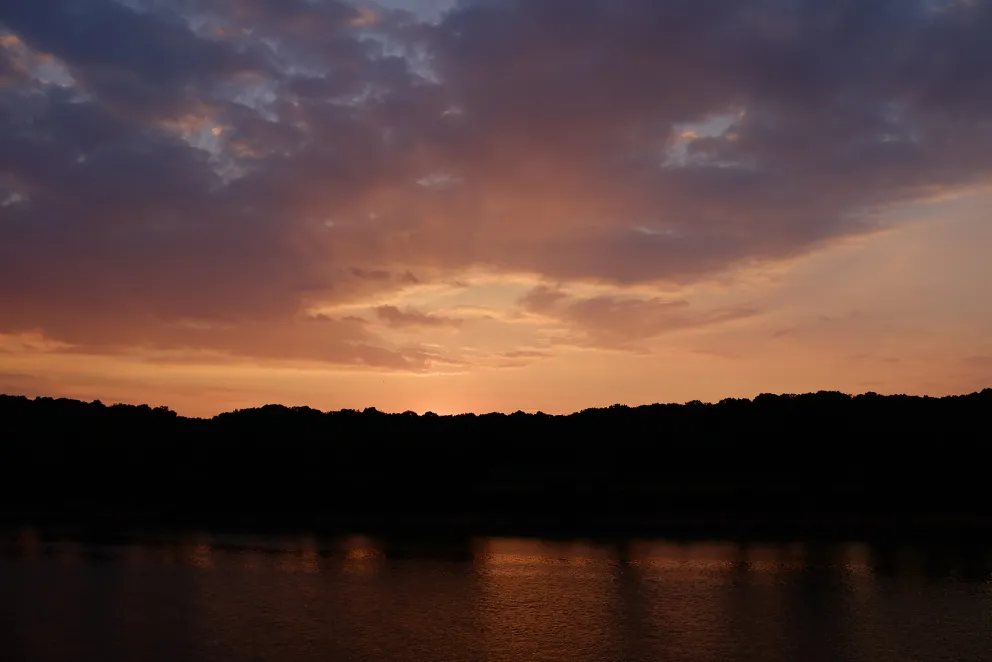
Photo by Ken Bennett, Wake Forest University
The Fuji booth was very popular at the 2016 UPAA Symposium in Clarksville, TN, and many members were able to borrow a camera and some lenses to test. For those of you who shot raw files and plan to process them in Lightroom, there are a couple of things to know in advance:
1. The Lightroom default color profile is Adobe Standard, which I don't find particularly good. The first thing to do is go to the Calibration tab and choose one of the Fuji color profiles, the so-called "film simulations". Note that these are not presets that just move sliders around, they are actual profiles that interpret the data from the sensor before it comes into Lightroom. I like the Astia profile, but there are plenty of them to play around with.
If you settle on one profile that you want to use all the time for a starting point, the next step is to open a new raw file in the Develop module, set that profile in the Calibration tab, then choose Develop > Set Default Settings. Lightroom will now use that color profile for every raw file from a camera of that type. (This is a useful thing in general if you want to use your own default sharpening and noise reduction settings for each camera, something that requires its own blog post.)
2. Sharpening. The Fuji X-Trans sensor doesn't use the Bayer array pattern, so sharpening is not the same, especially in Lightroom. Rather than rewrite what I've learned, I'll just send you directly to the sources:
Peter Bridgewood posted his sharpening technique last year on his own blog, and variations of this work very well.
Thomas Fitzgerald offers a group of sharpening presets for Fuji files in Lightroom at no charge on his blog. I have used the X Trans Super Sharp a lot over the last six months.
Of course, one of the joys of shooting Fuji, at least for me, is the high quality JPEG output. Many times I just use the in-camera JPEGs and they look great, as in the photo illustrating this post.
-Ken Bennett, Wake Forest University