(photo by Jaren Wilkey) Text by Jaren Wilkey, manager of BYU's photo office
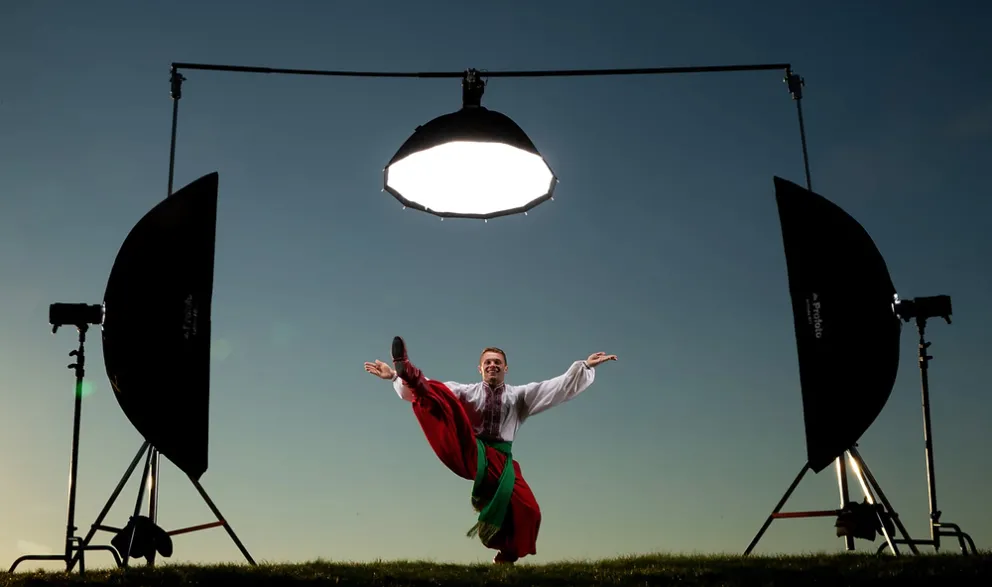
One of our favorite lighting styles is butterfly lighting, where the key light is front and center above the subject. We use it quite often, especially when we are photographing dancers and athletes. Due to the fact that most of our assignments are on location we always have the challenge of safely shooting butterfly lighting on set.
(photo by Jaren Wilkey)
I’ve never been a big fan of booms. Boom stands need to weighted down like crazy and yet they still they are unsteady. You are also limited on how far you can hang a heavy light and modifier out on the boom. I also dislike how close the light stand is to my subject, especially when I need all the space I can get to capture athletes in motion.

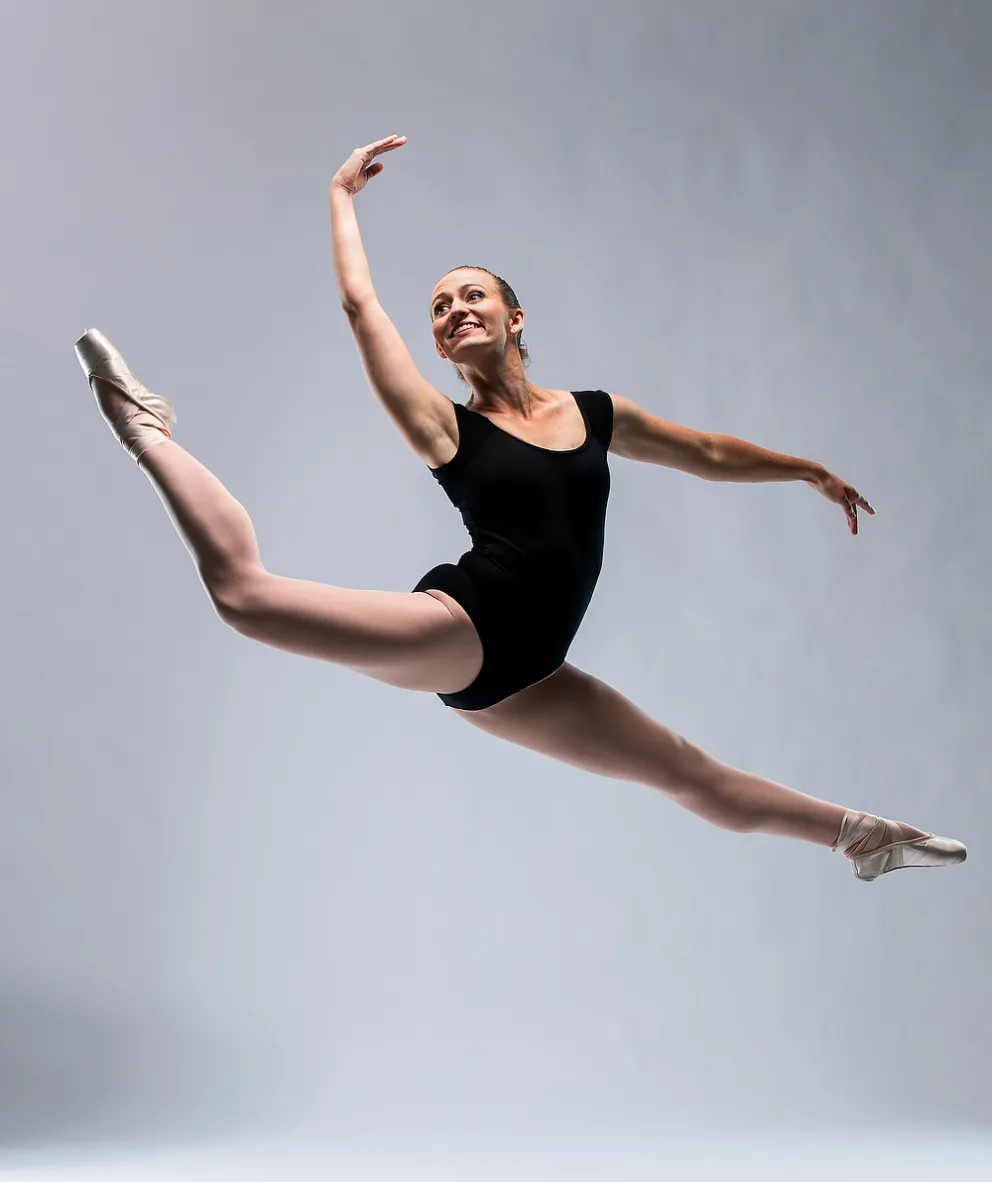
(photo by Nate Edwards) The image above, "Childs Play," was voted Best in Show in the October 2018 MIC.
Another solution is to place a typical background crossbar between two light stands and hang a light and modifier from it with a superclamp and a safety cable. I like this solution more than a boom, but we are limited by the length of the crossbar and how much weight it can safely support.
We’ve been searching for the right crossbar for such a long time that we decided to create one ourselves. Luckily Nate’s dad is pretty good welder and he was able to build us one in less than an hour. He picked up the square tubing from the scrap pile at a local supply shop for 17 dollars.
We decided to make our crossbar out of heavy duty square steel tubing so that it could support a heavy load. Another advantage of square tubing is that you can attach your light with a superclamp and it will hold firmly in place, while with circular tubing crossbars the superclamp will slip when under a load.
(photo by Nate Edwards) Who knew "know a good welder" was a resume item?!?
The crossbar is made from 2 pieces of square steel tubing, one side slightly bigger than the other so that it can fit just inside. This means that the crossbar can easily travel in our van at 10 feet long, but it can telescope to about 16 feet and still support the weight of a Profoto D2 light with a large softbox.
We wanted to make sure that we had heavy duty light stands that could safely carry the load and give us a lot of height. We settled on a pair of Matthews Hollywood Combo Steel Stands that extend over 14 and ½ feet high. They are a bit heavy, but I feel completely safe with these stands carrying the load of the crossbar and lights on set.

(photos by Jaren Wilkey) Have crossbar, will travel. (But how does it fit in an overhead compartment?)
The Matthews stands also have a baby ⅝” pin that are perfect for attaching our crossbar to. The end of each side of the crossbar have a small piece of square tubing attached at a right angle cut to the perfect size to sit on top of the baby pin.
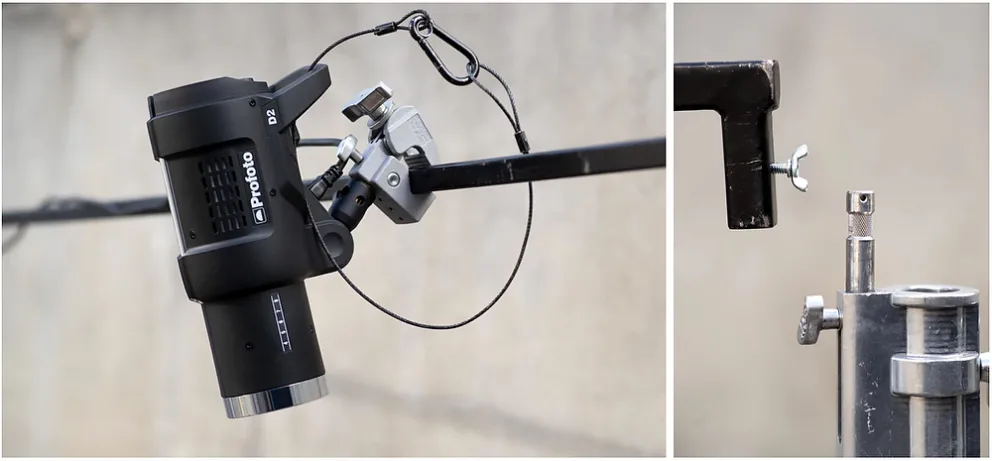
(photos by Jaren Wilkey) Closeups of the crossbar
We also added a small screw on each side to lock it onto the baby pin. The best part of our crossbar is that it only cost us about 30 dollars to make it. We’ve used it dozens of times and have always been very happy with the results.
See a video of the BYU crossbar in action.
_________________________
"People are usually shocked when they find out I'm not a very good electrician!" Send comments, critiques, suggestions, or jokes to editor Matt Cashore, mcashore@nd.edu